Introduction
In the ever-evolving landscape of technology, 3D printing has emerged as a groundbreaking innovation, shaping industries and revolutionizing the way we create physical objects. From intricate prototypes to personalized consumer products, 3D printing offers a realm of possibilities, limited only by the imagination.
Table of Contents
Why Blender is a popular choice for 3D modeling and animation ?
For blender i an say that it is the best software avalable for many reasons as it’s versatile and open-source 3D creation suite, with a devoted community of artists, designers, and innovators who are makning blender fast, easy to use and better then most pain software avelable out there due to its exceptional capabilities in modeling, animation, and rendering Blender seamlessly bridge the gap between digital designs and tangible objects through 3D printing for no cost at all.

What is the significance of 3D printing in various fields?
In these few past years i have observed that significance of 3d printing have grown in many inudustries as 3D printing is transforming the Healthcare, Aerospace, Education, Manufacturing, Automotive, and Robotics industries since 3d printing requires no tooling, manufacturers can reduce the time needed to produce parts, bypassing a time-consuming and costly tooling production step.
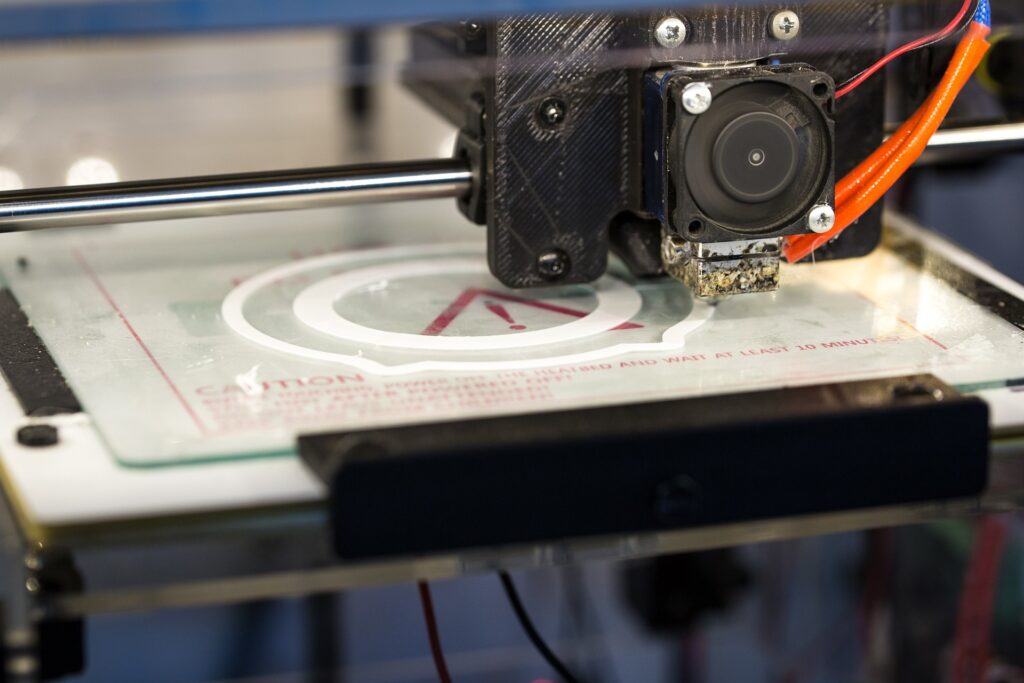
Understanding 3D Printing. | What is 3d printing?
If i had to explane what 3d printing is in easy words i can say that it is process where a digital models created using a software like blender is turned into a three_dimensional object by adding material a layer at a time which allows us to make new shapes that are eco friendly and saves times as well.
Different types of 3d printers?
There are certains amount of 3d printer suh as,
1. Fused Deposition Modeling (FDM) Printers:
FDM printers work by melting a thermoplastic filament and depositing it layer by layer to create the object. The print head moves along the X, Y, and Z axes.
FDM printers use materials suh as, PLA, ABS, PETG, TPU, and more.
2. Stereolithography (SLA) Printers:
SLA printers use a UV laser to solidify liquid resin layer by layer. The build platform descends into the resin tank after each layer is cured.
SLA printers uses Various photopolymer resins offering different properties such as standard, flexible, or castable resins.
3. Digital Light Processing (DLP) Printers:
Similar to SLA, DLP printers use a digital light projector to cure liquid resin. The entire layer is exposed to light simultaneously, improving printing speed.
DLP printers uses Resins similar to those used in SLA printers.
4. Selective Laser Sintering (SLS) Printers:
SLS printers use a laser to sinter powdered materials, such as nylon or metal, layer by layer, fusing them into a solid object. and these prints with Nylon, metal powders (aluminum, steel, titanium), and other specialized materials.
5. Selective Laser Melting (SLM) Printers:
SLM printers use a high-powered laser to melt and fuse metallic powders together, layer by layer, to create metal parts. These print with Various metal powders, including aluminum, titanium, stainless steel, and more.
6. Binder Jetting Printers:
Binder jetting printers use a print head to deposit liquid binder onto a powdered material (usually gypsum or metal powder), layer by layer. Once a layer is completed, a new layer of powder is added.
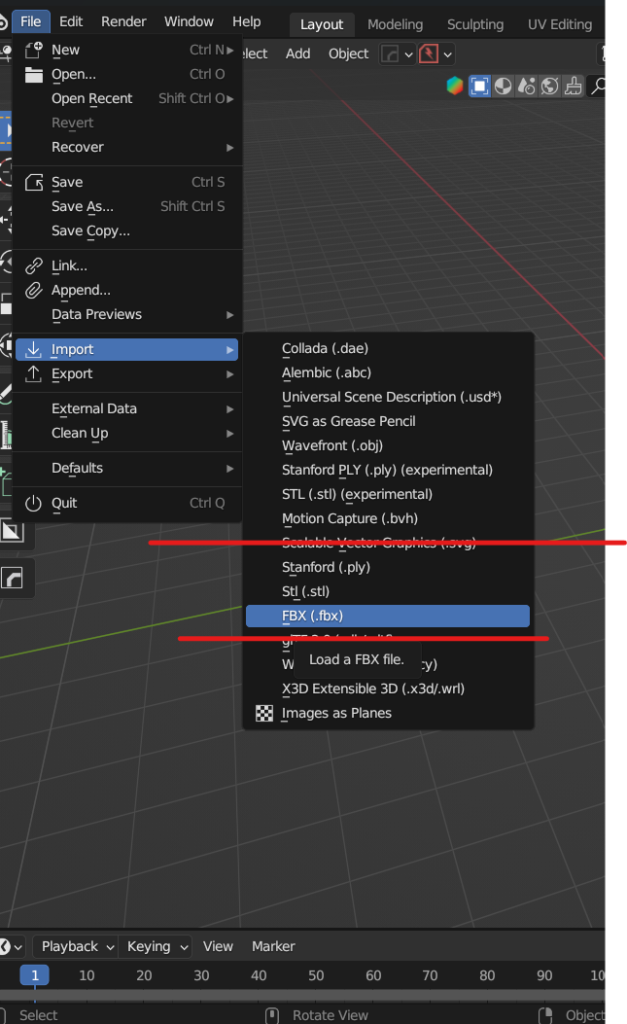
File formats used in 3D printing.
Common file formats used in 3D printing, such as STL (Stereolithography) and OBJ (Object File Format), play a crucial role in the 3D printing workflow. Here’s an explanation of these formats and their importance:
1. STL (Stereolithography):STL is the most widely used file format in 3D printing. It represents 3D geometry as a collection of interconnected triangles, defining the surface geometry of a 3D model.
2. OBJ (Object File Format):OBJ is a widely used 3D file format that can store both geometry and texture information. It supports polygonal mesh representation and can store color, texture, and material data.
3. Additional Formats (AMF, 3MF, etc.):Apart from STL and OBJ, there are other specialized formats like AMF (Additive Manufacturing File Format) and 3MF (3D Manufacturing Format) designed specifically for 3D printing. AMF, for instance, supports more complex geometry, color, and material information.

Blender and 3D Printing: A Perfect Match ?
Blender stands out as the go-to choice for 3D modeling, especially for 3D printing enthusiasts like myself. What makes it incredibly appealing is its user-friendly interface that allows for seamless navigation. One of the remarkable features is the ability to install add-ons, which can transform a regular workflow into a lightning-fast experience. Personally, I find the non-destructive modeling approach with modifiers in Blender to be a game-changer. It means that even if I make a mistake, I don’t have to start from scratch; I can simply tweak some settings and achieve the desired outcome. This flexibility is invaluable, especially when diving into the intricate world of 3D printing. Blender empowers me to experiment, learn, and refine my designs effortlessly, making the entire process both enjoyable and rewarding.
Community help a lot to make blender interface as smooth and friendly as possible like if i want to create a mechanical piece of some kind to be used in my car i can simply use blender with addons like hard-ops and boxcutter and can easily create something like very quickly
How to create 3d printable modelling in blender ?
Creating a 3D printable model in Blender involves several key
considerations to ensure a successful and high-quality print. Here are
the essential points to keep in mind while creating a 3D printable model
in Blender:
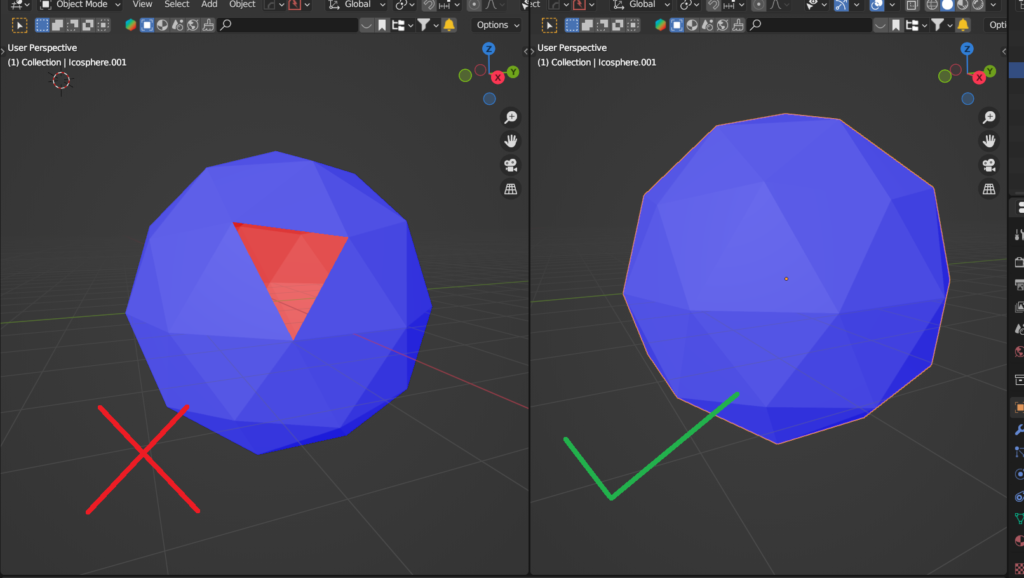
1. Ensure Manifold Geometry:
2. Maintain Wall Thickness:
Thin walls can be fragile and difficult to print accurately. Maintaining a minimum wall thickness ensures structural integrity and printability.
3. Avoid Overhangs and Use Support Structures:
overhanging parts.
4. Check and Repair Mesh Integrity:

5. Optimize for Print Bed Adhesion:
is crucial to prevent warping or detachment during printing.
6. Mind the Printing Orientation:
7. Consider Assembly and Interlocking Parts:
together and ensure proper tolerances for interlocking components.
8. Optimize for Print Speed and Quality:
